
Affiliate disclosure: Some of the links in this post are affiliate links, which means I may earn a small commission if you buy through them, at no extra cost to you. As an Amazon Associate, I earn from qualifying purchases. Read my full disclosure.
I had never even heard of the Bowman Lake to Kintla Lake backpacking route until a group of ladies who worked in Glacier National Park 50 years ago recommended it to me.
After spending an entire summer working in Glacier and hiking hundreds of miles throughout the park, I thought I had at least heard of basically every major hike here.
Apparently not.
And somehow, this ended up being one of the most beautiful backpacking trips I did all season.
In this guide, I’m going to walk you through everything you need to know about backpacking Bowman Lake to Kintla Lake via Brown Pass:
- The route I took
- The route I would recommend instead
- Backcountry permit information
- The two-car shuttle situation
- Campsites and mileage
- What each day of the hike was like
- Backpacking gear I used and recommend as a newer backpacker
I’m going to section everything out so it’s easy to follow because there are quite a few moving parts with this trip.
How I Found Out About This Backpacking Route
I worked in Glacier National Park this summer, and one morning I was doing a sunrise hike with a friend when we were stopped by a few ladies on the trail.
We ended up having this long conversation with them, and it was honestly just one of those random, heartwarming human interactions that leaves you feeling really happy afterward.
It turned out they had worked in Glacier National Park about 50 years ago.
Obviously, I had to ask them what their favorite hike in the park was.
They both answered: Hole in the Wall through Boulder Pass.
I was confused.
I had done basically every popular hike in Glacier, or so I thought, and I had never even heard the name before.
As soon as I had cell service again, I looked it up and discovered that it was part of a backpacking route on the Polebridge side of Glacier National Park, connecting the Bowman Lake and Kintla Lake areas.
Side note: There are SO many different entrances and areas of Glacier National Park, and honestly, it can be confusing if you’ve never been here before. The park is way bigger than I realized before moving here. I’ll have to make an entire blog about that.
I had gone backpacking for the first time just a few weeks earlier and absolutely loved it, so I started thinking… maybe this could be my final big hike of the season.
Everything lined up perfectly.
The weather looked amazing, the fall colors were unreal, and I was able to take the time off work.
So I decided to take their advice and find out why this had been their favorite hike all those years ago.
And let me just say…
It was absolutely GORGEOUS.
It was an amazing way to end my summer season. If you don’t know, I’m a seasonal worker, and my last day of work was October 5. I did this backpacking trip from October 2 through October 4.
Now I’m going to walk you through exactly how I did it, plus what I would change if I did it again.
Watch My Bowman Lake to Kintla Lake Backpacking Trip
I recorded TikToks from all three days of this trip, so if you want to actually see what the trail, campsites, fall colors, and views looked like, you can watch the entire trip here:
Day 1: Bowman Lake to Brown Pass
Day 2: Hole in the Wall, Boulder Pass & Head Kintla Lake
Day 3: Head Kintla Lake to the Kintla Lake trailhead
Alright! Let’s get into the details.
Bowman Lake to Kintla Lake Backpacking Route Overview
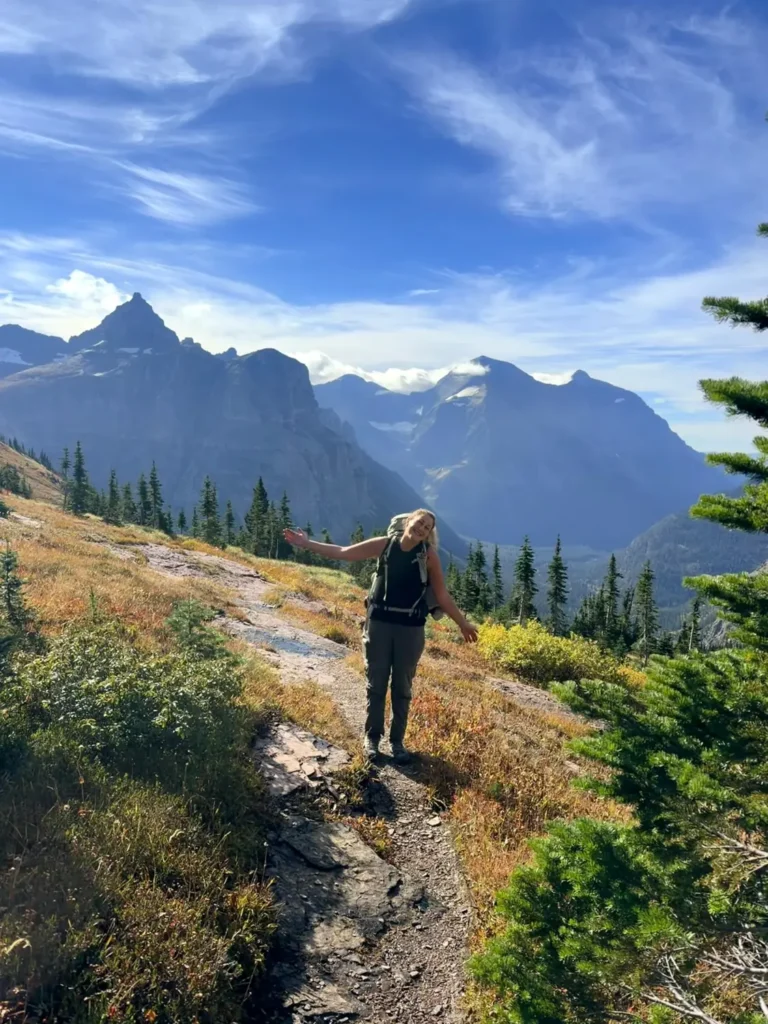
The route travels from Bowman Lake to Kintla Lake, passing through some absolutely insane scenery around Brown Pass, Hole in the Wall, and Boulder Pass.
We completed it as a 3-day, 2-night backpacking trip, but if I did it again, I would actually make it 4 days and 3 nights.
Not because I couldn’t handle the mileage, but because this area is way too beautiful to rush through.
I’ll explain my ideal itinerary farther down.
Getting a Glacier National Park Backcountry Permit
First things first: you need a backcountry permit.
I honestly thought getting the permit was going to be this huge complicated process with a bunch of hoops to jump through.
Nope.
For our trip, we went to a visitor center the day before and arranged our permit.
I recommend having a general idea of your route and the campsites you want before talking to the ranger. They can help you if you have questions or aren’t sure about something.
A friend of mine who issues backcountry permits at the visitor center explained that a large portion of advance reservations are distributed through Glacier’s early-access system, while some campsite availability is held for trips arranged shortly before departure.
Because the reservation system and percentages can change, I would check Glacier National Park’s current wilderness camping information before planning your trip.
For my trip, going to the visitor center the day before worked perfectly.
I actually liked doing it this way because we knew what the weather looked like, and the rangers could help us with the permit, campsites, current trail conditions, and any warnings.
During peak summer, though, you could definitely be competing with other backpackers for limited campsites. If you’re relying on last-minute availability, I would get to the visitor center right when it opens the day before your trip.
When getting your permit, you may also have to watch an informational video, and the ranger will tell you about current warnings or things like bear activity along your route.
They’ll also ask for information about the people in your group and your vehicle.
Our permit and campsites cost around $30 total for our two nights, but always check current fees because they can change.
Before I arrived, I already had a general idea of:
- Which campsites I wanted
- How many miles I wanted to hike each day
- The elevation gain
- How I was going to make the point-to-point route work
I used Gaia GPS to map everything out.
I only recently discovered this app, and I LOVE it.
The backcountry campgrounds are marked on the map, and I used the point-to-point feature to estimate the mileage and elevation gain for each day.
Bowman Lake to Kintla Lake Map
If everything I’m talking about sounds confusing without seeing it on a map, I completely understand.
Use my Gaia GPS map here:
View the Bowman Lake to Kintla Lake route on Gaia GPS
Zoom in and you’ll be able to see the backcountry campsites.
Looking at the map while planning this trip will make everything below make WAY more sense.
The Bowman Lake to Kintla Lake Car Shuttle
Okay, this part is probably the most annoying part of planning the trip.
Because this is a point-to-point backpacking route, you don’t end where you started.
If possible, I recommend having two cars: one parked at Bowman Lake and another at Kintla Lake.
That way, you have a car at the trailhead where you start and another waiting for you when you finish several days later.
Only have one car? Renting a second one is an easy way to set up the shuttle, and Glacier Park International Airport in Kalispell is the closest place to pick one up. There’s no public transportation out to Bowman or Kintla Lake, so having a car (or two) is really the only way to get to these trailheads. 🚗 Book your rental car here
You could potentially arrange another ride, but having two cars made the logistics much easier for us.
The visitor center gave us parking passes for the vehicles associated with our trip.
How we did it:
- On the morning of our hike, we drove both cars toward Kintla Lake.
- We left one car near the Kintla Lake trailhead/backcountry parking area.
- Then we drove the second car over to Bowman Lake, which took us roughly 30-40 minutes, parked there, grabbed our backpacks, and started hiking.
You could obviously hike the route in the opposite direction, but after doing it, I personally liked going Bowman Lake to Kintla Lake.
Our 3-Day Bowman Lake to Kintla Lake Itinerary
Day 1: Bowman Lake to Brown Pass Campground

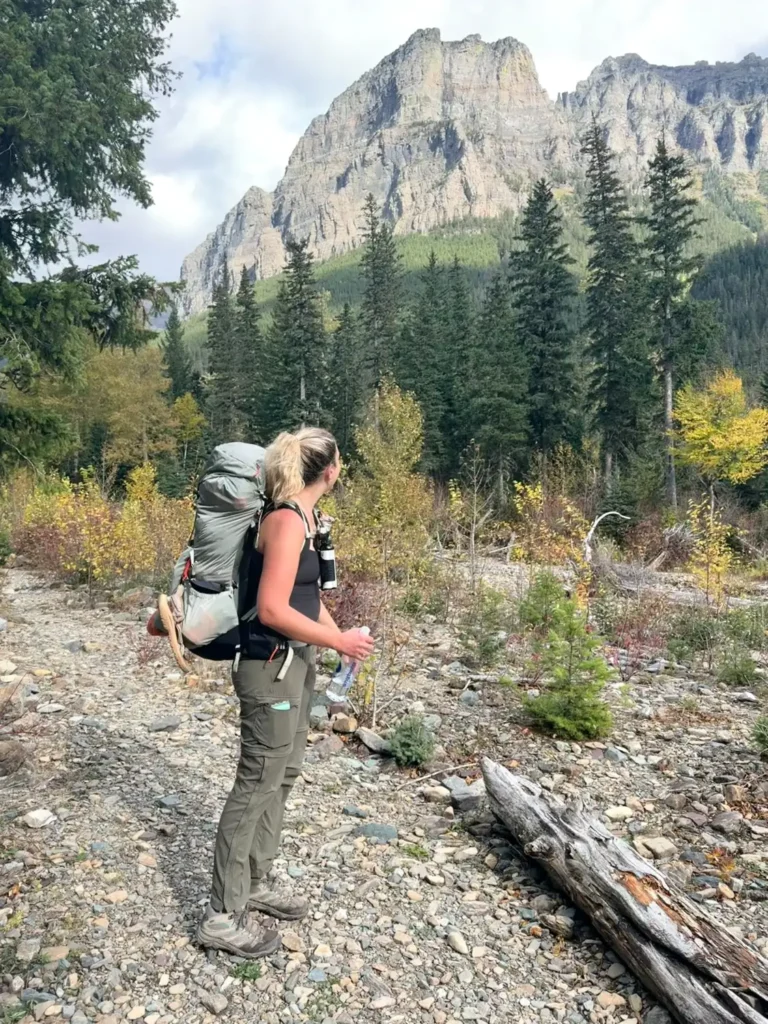
Our first campsite was Brown Pass Campground.
This made our first day roughly 11 miles.
The beginning wasn’t bad. A lot of the trail felt relatively flat and manageable.
And then you get toward the final few miles…
Yeah.
That’s when things get intense.
There’s some real elevation to get through before reaching Brown Pass, so mentally prepare yourself for that section.
BUT…
If I did this trip again, I actually wouldn’t camp at Brown Pass.
I would keep going.
Would I Camp at Brown Pass Again?
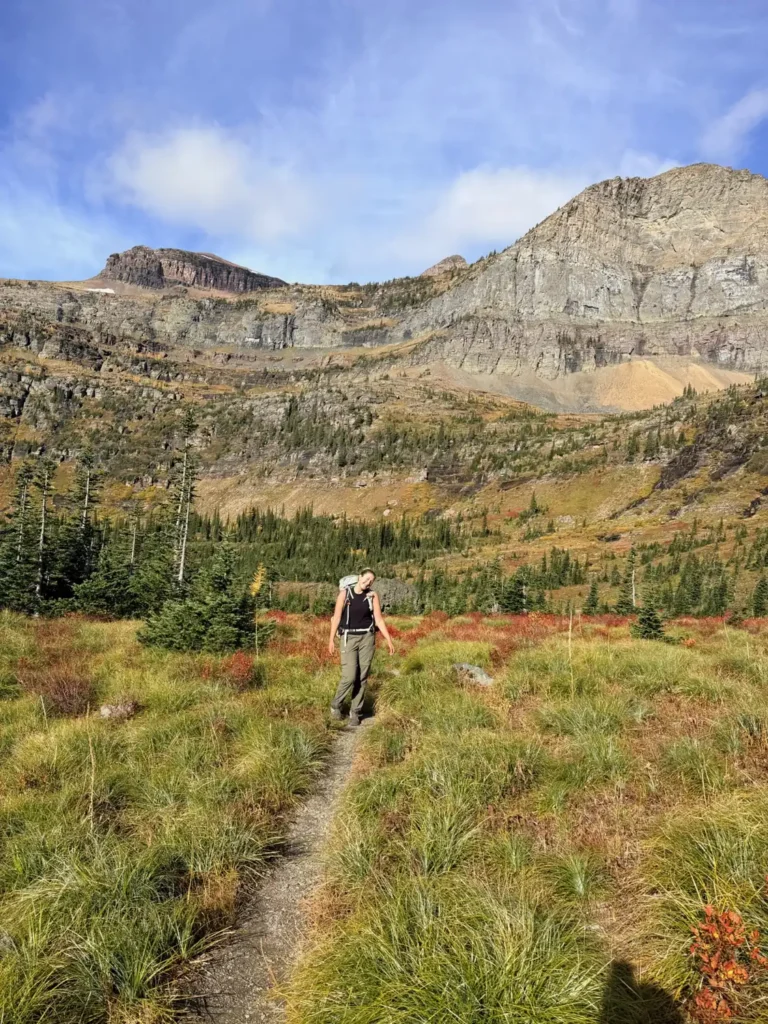
Probably not.
If you have the time and energy, I would personally continue to either:
- Hole in the Wall Campground
- Boulder Pass Campground
Both had WAY better views and were just cooler campsites in general.
They even had cool toilets.
And surprisingly, once you’re past the big climb toward Brown Pass, continuing farther isn’t as bad elevation-wise as you might expect.
From the Bowman Lake starting point, you’re looking at roughly:
- Hole in the Wall: around 15 miles
- Boulder Pass: around 18 miles
Obviously, that’s a pretty big first backpacking day.
Which brings me to what I think is an even better option…
A Better Option: Camp at Head Bowman Lake
Instead of trying to crush 15-18 miles on Day 1, you could turn this into a 4-day, 3-night backpacking trip.
Your first day could be super chill.
Hike roughly 7 miles to Head Bowman Lake Campground and spend the night there.
And honestly?
Head Bowman Lake is STUNNING.
It’s peaceful, beautiful, and exactly the kind of place where you actually want to have time to sit around and enjoy where you are instead of immediately going to sleep because you’re exhausted.
Day 2: Brown Pass to Head Kintla Lake


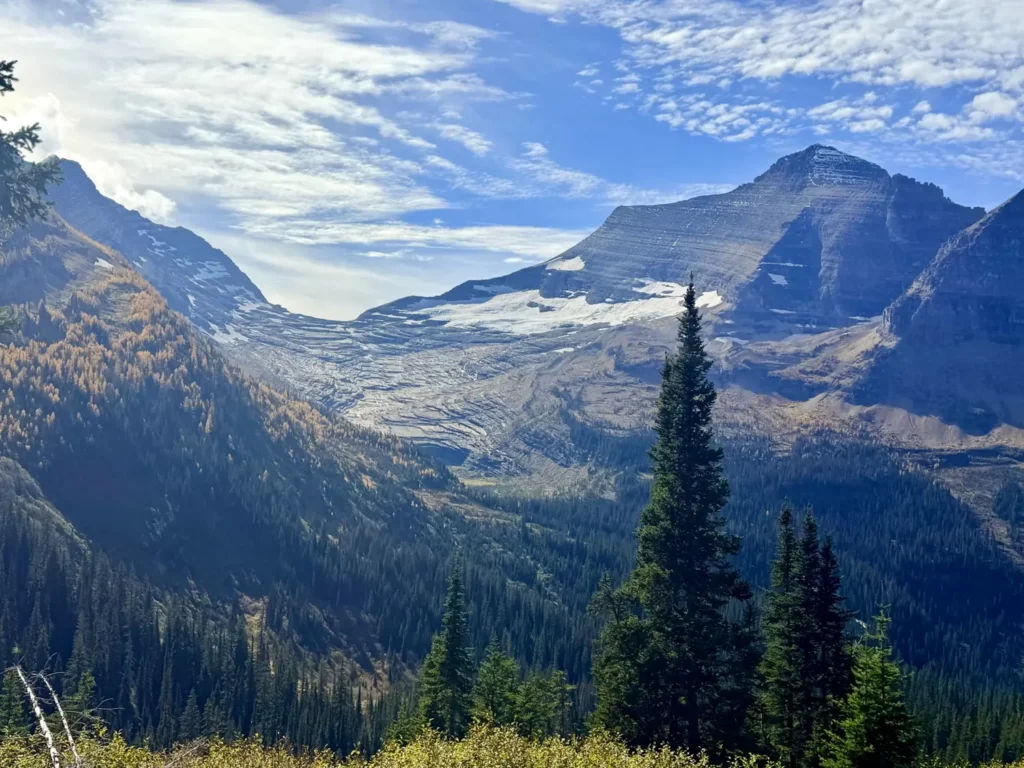
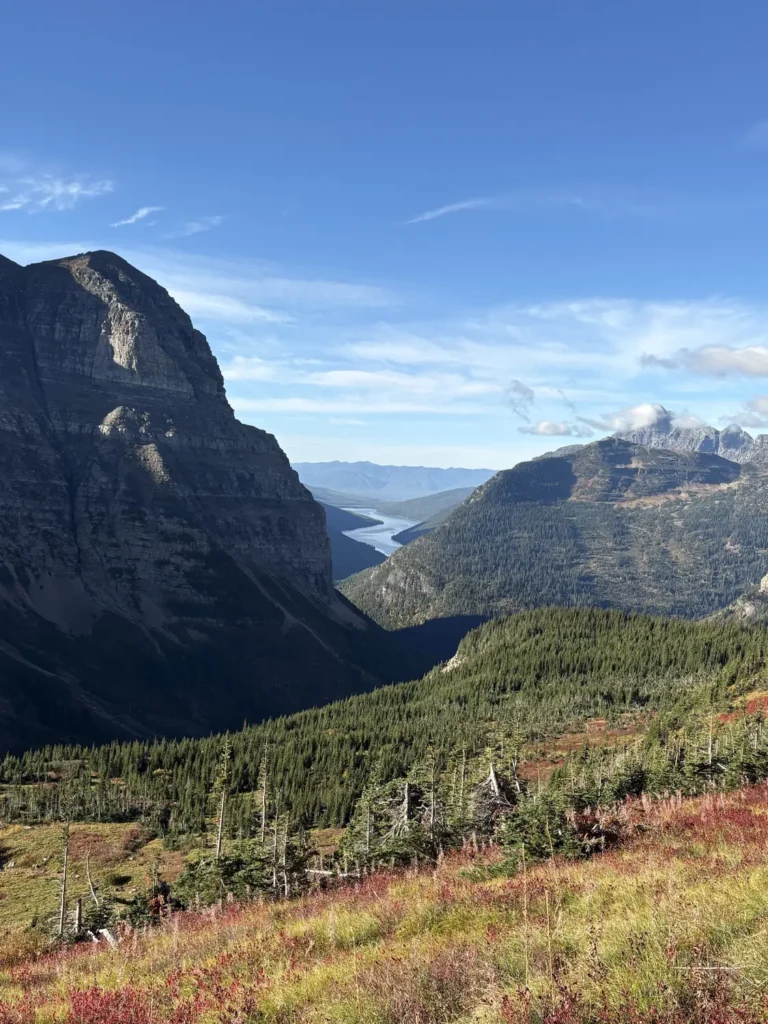
This was when the scenery went to another level.
We hiked from Brown Pass Campground to Head Kintla Lake, passing through the Hole in the Wall and Boulder Pass area.
The views were CRAZYYYYY.
This was definitely the most scenic part of the entire backpacking trip.
Every time I thought we’d already seen the best view, we’d walk a little farther and somehow it would get even prettier.
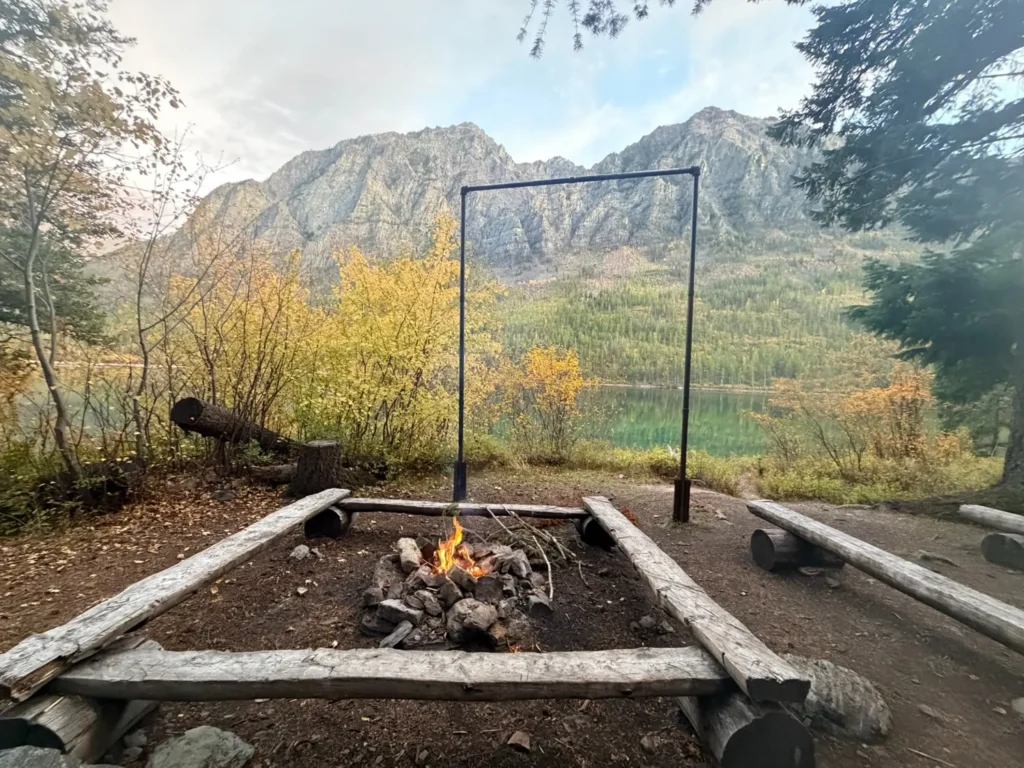
And then we arrived at Head Kintla Lake Campground.
This is genuinely one of the most beautiful places I’ve ever camped.
Being able to finish such a scenic day sitting by Kintla Lake was amazing.
We were also able to have a fire during our trip, which made the night even better. Always check current fire restrictions before your trip, though, because rules and conditions can change.
Day 3: Head Kintla Lake to Kintla Lake Trailhead
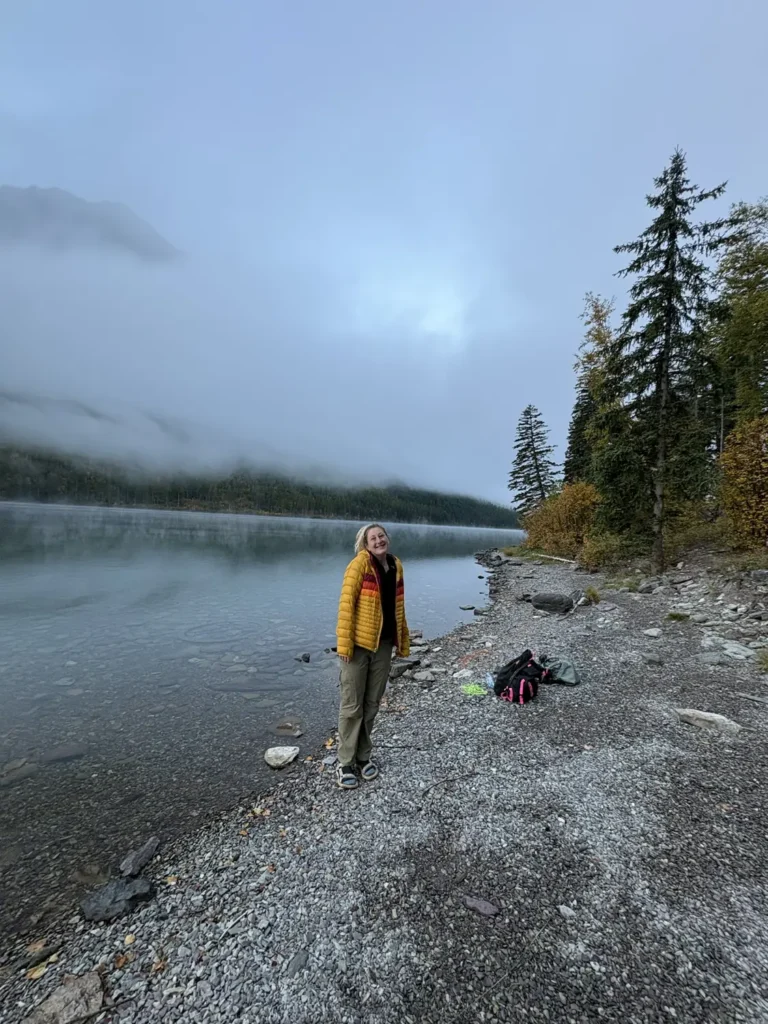
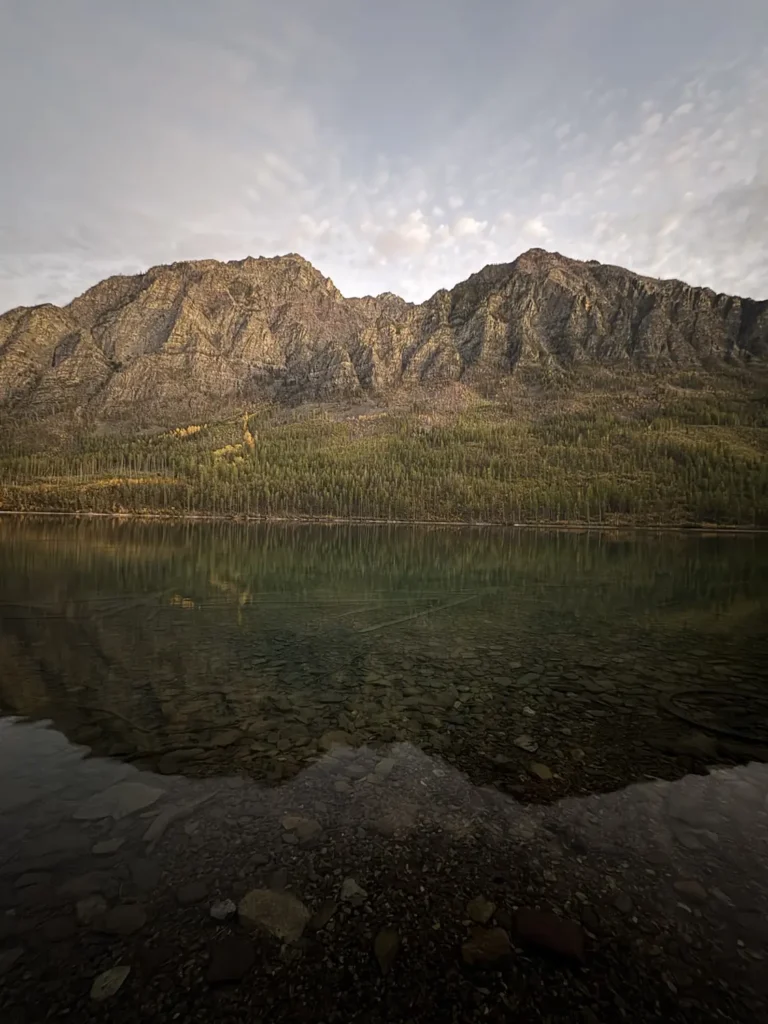
Our final day was EASY compared with what we’d already done.
We hiked roughly 6 miles from Head Kintla Lake to the Kintla Lake trailhead, where our car was waiting.
There was a little elevation here and there, but overall it was a pretty chill final day.
And you get water views throughout a lot of it.
Knowing there was a car waiting for us at the end also made those final miles feel pretty good.
The 4-Day Itinerary I Would Recommend Instead
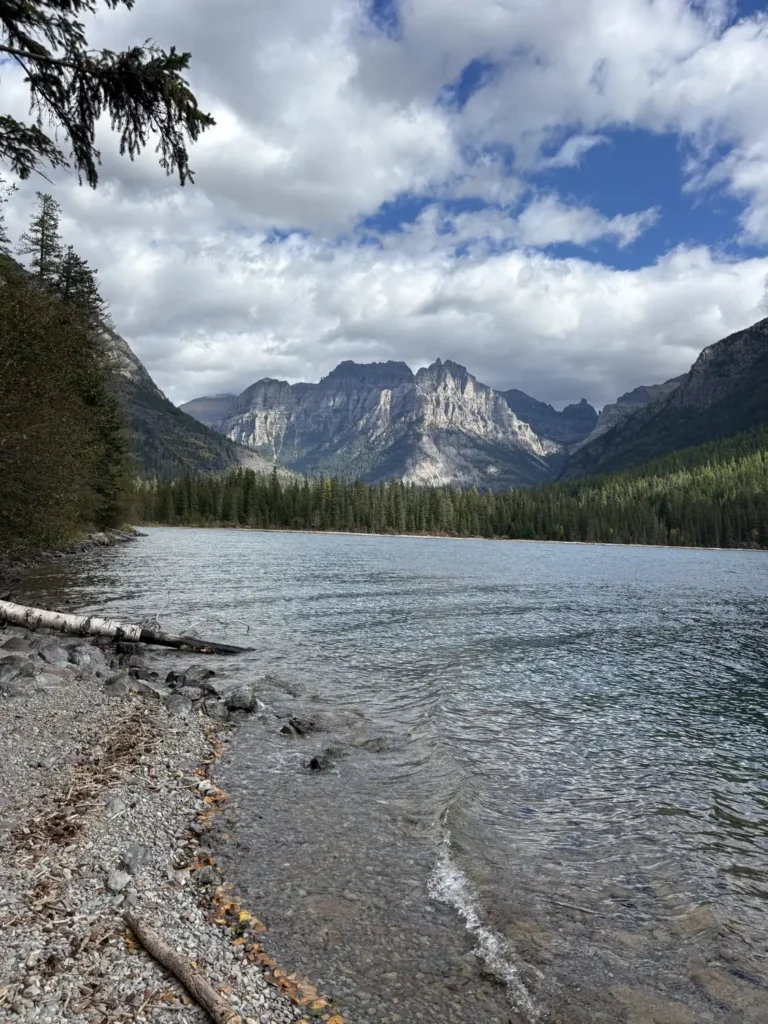
If you’re reading this because you’re planning your own Bowman Lake to Kintla Lake backpacking trip, this is probably the most important section.
I would do this route differently next time.
Not because our itinerary was bad. I loved it.
But the scenery around Hole in the Wall and Boulder Pass is SO beautiful that I wish we’d had more time to enjoy everything instead of covering so much ground.
Here’s how I would personally plan it:
Day 1: Bowman Lake to Head Bowman Lake
About 7 miles
Get your cars situated, start at Bowman Lake, and hike to Head Bowman Lake Campground.
This gives you a relatively chill first day and lets you actually enjoy Head Bowman Lake.
Day 2: Head Bowman Lake to Hole in the Wall or Boulder Pass
- Hole in the Wall: about 8.5 miles
- Boulder Pass: about 11 miles
This is going to be your climbing day.
There are a few miles with some pretty good elevation gain, so mentally prepare yourself.
But trust me.
The views are worth it.
If I could get the campsite I wanted, I would personally try to spend this night at Hole in the Wall or Boulder Pass.
Day 3: Hole in the Wall or Boulder Pass to Head Kintla Lake
- From Hole in the Wall: about 14.5 miles
- From Boulder Pass: about 10.5 miles
Another absolutely beautiful day.
Finish at Head Kintla Lake, set up camp, and actually give yourself time to enjoy being there.
Day 4: Head Kintla Lake to Kintla Lake Trailhead
About 6 miles
A pretty chill final day with beautiful water views.
Then your car is waiting for you at the end.
This is how I would do the trip if I could do it all over again.
You technically can complete the route faster, because we did.
But if you have the time, why rush it?
This is one of those places where you want as much time as possible to actually soak everything in.
Don’t Skip Polebridge After Your Hike
After finishing our backpacking trip, we stopped in Polebridge for lunch.
And their food HIT.
After multiple days of backpacking food, it was exactly what I needed.
10/10 post-backpacking decision.
Want to spend more time in the North Fork? My 5-day Glacier itinerary ends with a lake day at Bowman Lake and a stop at the Polebridge Mercantile.
How I check trail conditions: Before every hike or backpacking trip, I look the trail up on AllTrails and read the most recent reviews. People comment about whether there’s snow or ice, how the trail is holding up and what they recommend, so I know what to expect before I go.
Backpacking Gear I Used and Recommend
Here’s my TikTok on the beginner backpacking gear I bought at REI and what I think was worth it:
Watch my beginner backpacking gear video on TikTok
I’m still pretty new to backpacking, so this section is specifically for anyone else getting into backpacking and wondering what gear is actually worth buying.
I’ve recently bought quite a few new pieces of gear, and after using them on my backpacking trips in Glacier, these are the things I’ve genuinely liked.
Some of these items are definitely pricey.
Personally, I’m okay spending more on certain backpacking gear if it’s coming from a company known for making quality gear and having good customer service. I’d rather buy something good once than replace cheaper gear over and over.
I bought most of this gear in person at REI, but I’ve linked the products online below.
Also, somehow I accidentally ended up owning a LOT of NEMO gear.
I’m not sponsored by them.
Hopefully one day.
I genuinely just like their stuff so far.
NEMO Hornet 2-Person Backpacking Tent
See the NEMO Hornet tent
I bought the NEMO Hornet 2-person tent.
It has a pretty hefty price tag at around $479, but I’ve really liked it.
Technically, you can fit two people in it, but honestly, it’s a VERY nice amount of space for one person.
It weighs around two pounds, is super easy to set up, and doesn’t take up much room in my backpack.
For me, those things make a huge difference when I’m carrying everything for multiple days.
NEMO Tensor All-Season Sleeping Pad
See the NEMO Tensor sleeping pad
I bought the NEMO Tensor All-Season Wide sleeping pad for around $259.
Before I started getting into backpacking, I didn’t even use a sleeping pad when I went camping.
I would literally just sleep on the floor of my tent.
No wonder I was uncomfortable and cold.
After someone at REI recommended this pad and I’ve now used it multiple times, I understand why a good sleeping pad matters so much.
I’m a side sleeper, and this one has been really comfortable for me. I also move around a lot when I sleep, which is why I chose the wide version.
NEMO Disco 15 Sleeping Bag
See the NEMO Disco 15 sleeping bag
I got the NEMO Disco 15 for around $299.
Clearly, I wasn’t kidding about accidentally buying everything from NEMO.
I really like this sleeping bag because it’s warm and comfortable.
It did a great job keeping me warm during nights around freezing temperatures.
Before buying this, I had a cheaper sleeping bag rated to around 50°F. It was fine for warmer camping trips, but I would have been FREEZING if I’d brought it on my recent Glacier backpacking trips.
Sea to Summit Inflatable Pillow
See the Sea to Summit pillow
Do you NEED a backpacking pillow?
Probably not.
You could absolutely stuff some clothes together and use those.
But I bought this inflatable Sea to Summit pillow, and I really like it.
It’s super lightweight and tiny when deflated, easy to blow up, and has made sleeping in my tent much more comfortable.
You can also attach it to your sleeping pad, which is super clutch because you’re not chasing your pillow around your tent all night.
If you’re okay spending around $50 for a little extra comfort, I’d recommend it.
LifeStraw Collapsible Water Filter
See the LifeStraw water filter
This is probably one of my favorite backpacking purchases.
It’s the LifeStraw collapsible squeeze bottle and filter.
It’s lightweight, compact, and lets me filter water while I’m out backpacking.
On routes where you know you’ll regularly have access to appropriate water sources, being able to filter water as you go can save you from carrying an insane amount of water from the beginning.
I normally carry a reusable water bottle and use this to filter water and refill it as needed.
Always make sure you know where reliable water sources are before heading into the backcountry.
Tiny Backpacking Stove
See the backpacking stove
This thing was around $10 on Amazon, and I honestly wasn’t sure how well it was going to work.
But I LOVE it.
It comes in this tiny orange box, takes up basically no room in my backpack, and has been really simple to use.
I paired it with this camping pot.
Being able to make an actual hot meal after hiking all day is something I didn’t appreciate until I started backpacking.
Bear Hang Rope
See the bear hang rope
This is a lightweight bear hang rope that comes with a carabiner.
Simple, lightweight, and inexpensive.
Make sure you follow Glacier National Park’s current food-storage requirements at whichever backcountry campsites you’re using. The appropriate food-storage method can vary by location and current park rules.
A Few Fun Extras I Like
These aren’t necessarily things you NEED, but they’re things I’ve brought and liked.
Backpacking Meals
This chicken coconut curry was SO GOOD:
I’ve also liked some of the curry meals I’ve found in stores.
And this Pad Thai also hits after a long day of hiking:
There is something about eating a hot meal after hiking all day that makes it taste approximately 100 times better.
Backpack Rain Cover
I bought a simple rain cover from REI.
It’s not the most exciting backpacking purchase in the world, but when the weather turns, you’ll be glad you have something protecting your gear.
Is the Bowman Lake to Kintla Lake Backpacking Trip Worth It?
YES.
After spending an entire summer working in Glacier National Park and hiking hundreds of miles throughout the park, I genuinely cannot believe I almost finished my season without knowing this route existed.
That’s part of what made it so special.
I found out about it because I happened to stop and talk to two women on a sunrise hike who had worked in Glacier 50 years before me.
They told me this was one of their favorite areas.
I took their advice.
And 50 years later, another seasonal worker got to experience the same place they loved.
That’s pretty cool.
If you’re comfortable backpacking in Glacier’s backcountry and want something beyond the park’s famous day hikes, Bowman Lake to Kintla Lake via Boulder Pass and Hole in the Wall deserves a spot on your list.
And if you have the time?
Do it in four days.
Take the extra night.
Sit by the lakes.
Stop constantly for the views.
This is not a trail I’d want to rush through.
Those ladies were right.
Bowman Lake to Kintla Lake FAQ
Do you need a permit to backpack from Bowman Lake to Kintla Lake?
Yes, you need a Glacier wilderness permit. We got ours at a visitor center the day before, but reservations and walk-up availability change, so check the NPS wilderness camping page.
How many days do you need for Boulder Pass?
We did it in 3 days and 2 nights, but I’d recommend 4 days and 3 nights so you can camp at Head Bowman Lake and actually enjoy Hole in the Wall and Boulder Pass.
How do you handle the car shuttle?
It’s a point-to-point route, so two cars are easiest: leave one at Kintla Lake and start from Bowman Lake.